
When multiple team members handle similar types of records, assigning everything directly to individual users can quickly become messy. Some users get overloaded, others miss records, and visibility becomes limited.
This is where Queues in Salesforce become extremely useful.
Queues allow records to be owned by a group instead of a single user. Team members can view records assigned to the queue and take ownership when they are ready to work on them.
In this guide, we will understand what Queues are, how they work in real business scenarios, and the exact step-by-step process to create and configure them in Salesforce.
What Are Queues in Salesforce?
A Queue is a collection of users who can access and manage records assigned to that queue.
Instead of assigning a Case (or other supported object) directly to a user, you assign it to a Queue. Members of that Queue can then see the record in their queue list view and take ownership.
Queues are commonly used in Service Cloud, especially for Case management, but they can also be used for other supported objects.
Business Use Case: Support Team Example
Imagine a company that provides two types of support:
- Technical Support
- Billing Support
When a new Case is created, instead of assigning it immediately to a specific support agent, the Case is first assigned to the appropriate Queue.
For example:
- Technical issues go to the “Technical Support Queue.”
- Billing issues go to the “Billing Support Queue.”
All members of the respective team can view the cases in their queue and pick them up based on availability.
This ensures:
- Fair workload distribution
- Better visibility
- No missed records
- Faster response time
Now, let us walk through the exact steps to create a Queue in Salesforce.
Step-by-Step: How to Create a Queue in Salesforce
Step 1: Navigate to Service Setup
From the Salesforce home screen:
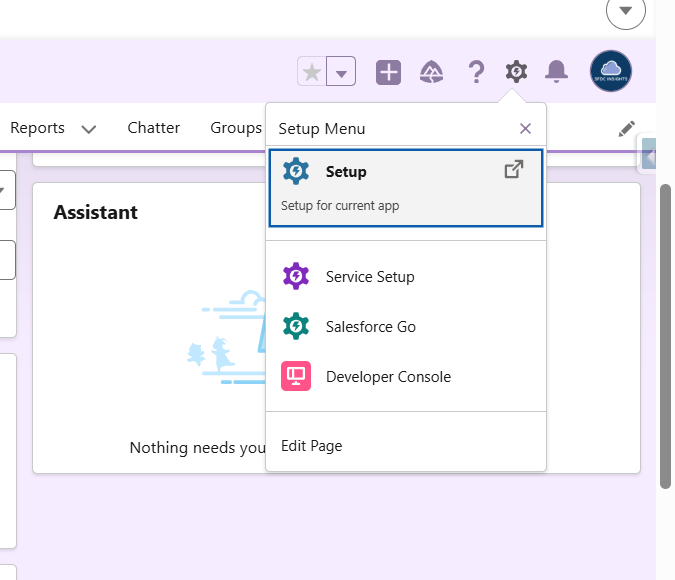
- Click on the Setup icon (gear icon) in the top right corner.
- Select Service Setup.
Service Setup provides a guided interface for configuring Service Cloud features, including Queues.
Step 2: Search for Queues
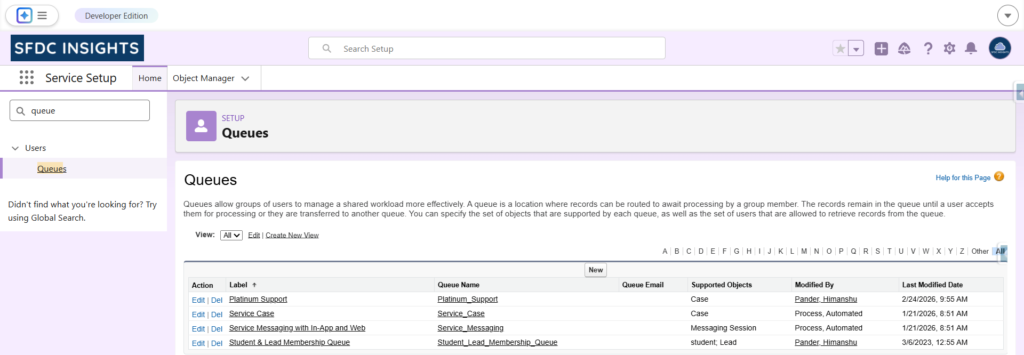
Inside Service Setup:
- Use the Quick Find search box.
- Type “Queues”.
- Click on Queues under the relevant results.
You will now see the list of existing queues (if any).
Step 3: Click on New
- Click the New button to create a new Queue.
You will now see the Queue configuration page.
Step 4: Fill in the Queue Details
You will need to configure the following fields carefully:
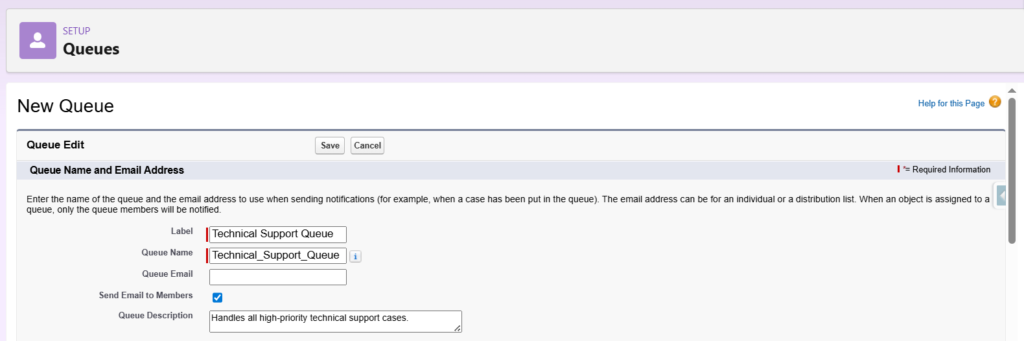
Label
This is the display name of the Queue.
Example: Technical Support Queue
Queue Name
This is automatically populated based on the Label, but can be adjusted if needed. It is the API name used internally.
Queue Email
Enter an email address if you want notifications sent to a specific inbox when records are assigned to the Queue.
Send Email to Members
If this checkbox is selected, email notifications will be sent to all queue members whenever a new record is assigned to the Queue.
Queue Description
Provide a clear description explaining the purpose of the Queue.
Example: Handles all high-priority technical support cases.
Make sure the information clearly reflects the business purpose of the Queue.
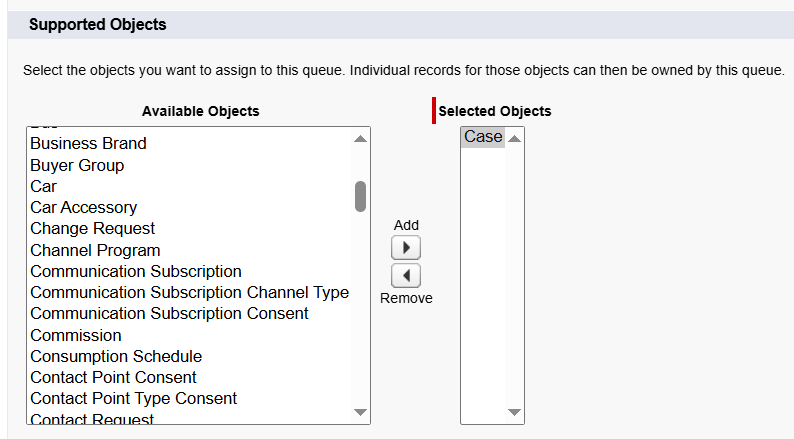
Step 5: Select Supported Objects
Under the Supported Objects section, you must choose which objects this Queue can own.
Common supported objects include:
- Cases
- Leads
- Custom objects (if enabled)
For our Service Cloud example, select Case.
This step is important. If the object is not selected here, you will not be able to assign that object’s records to the Queue.
Step 6: Add Queue Members
Under the Queue Members section, add users, roles, roles and subordinates, or public groups who should be part of this Queue.
To add members:
- Select the desired user or group from the Available Members list.
- Move them to the Selected Members list.
Only the users added here will be able to view and take ownership of records assigned to the Queue.

Step 7: Save the Queue
After filling in all required details and adding members:
- Click Save.
Your Queue is now created.
What Happens After the Queue Is Created?
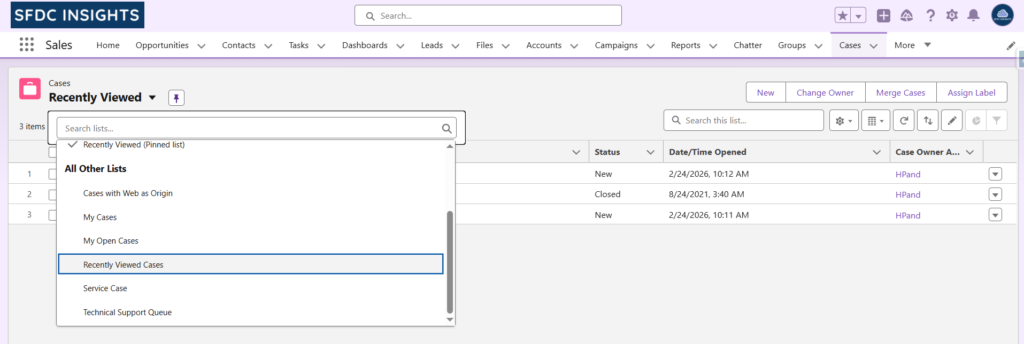
Once the Queue is ready and configured for a supported object (such as Cases), Salesforce automatically creates a dedicated Queue list view for that object.
To see it:
- Navigate to the supported object (for example, Cases).
- Open the List View dropdown.
- You will find a list view named after the Queue.
This list view shows all records currently owned by that Queue.
Queue members can:
- View the records
- Open them
- Change ownership to themselves
- Start working on them
This is how Queues help organize and distribute workload in a structured manner.
How Queues Work with Other Automation Tools
Queues are often used together with:
- Case Assignment Rules
- Escalation Rules
- Auto-Response Rules
For example:
A Case Assignment Rule can automatically assign a new high-priority Case to the “Technical Support Queue.” From there, team members can pick it up.
This combination ensures automation and flexibility at the same time.
Common Mistakes to Avoid
While creating Queues, administrators sometimes:
- Forgot to select the correct Supported Object
- Forgot to add Queue members
- Misconfigure email notification settings
- Use unclear naming conventions
Always verify the configuration carefully before using the Queue in production.
Final Thoughts
Queues in Salesforce are simple to configure but extremely powerful in real-world service environments.
They allow teams to manage shared workloads efficiently, improve visibility, and prevent records from being missed.
When combined with Assignment Rules and Escalation Rules, Queues become a core part of structured Case Management in Salesforce Service Cloud.
In upcoming guides, we will explore how Assignment Rules and Escalation Rules work in detail and how they integrate with Queues in real implementation scenarios.